How to set up an isopod enclosure
Isopods are easy to keep once their home is set up right. A good enclosure gives them the three things they need most: damp substrate to hide in, rotting leaves and wood to eat, and fresh air so mould can’t take over. Here’s how we set up every colony at Exotic Terras.
1. Choose a container
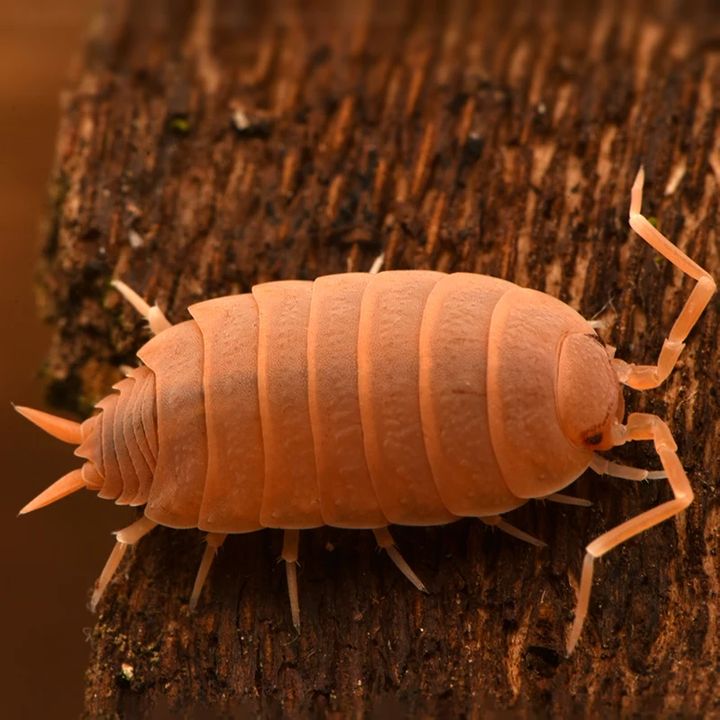
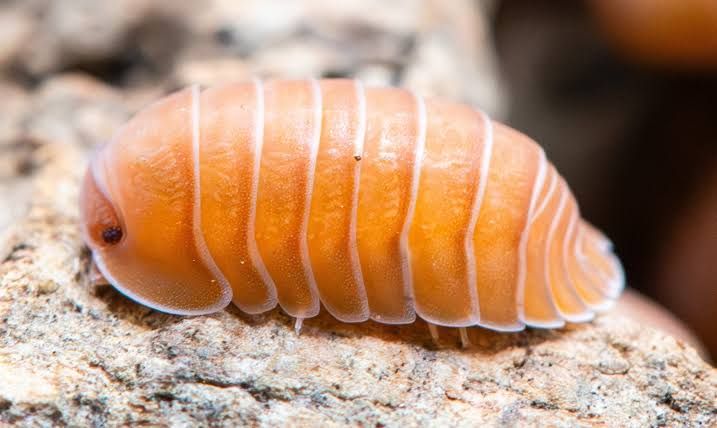
A plastic storage box with a lid works perfectly. For a starter colony of 10–20 isopods, 2–6 litres is enough; large species like Dairy Cow and Orange Dalmatian are happier in 6 litres or more. Drill or melt a few small holes in the lid and upper sides for airflow. Make them smaller than the smallest isopod so babies can’t escape.
2. Add 5–8 cm of substrate
Mix coco coir (or garden soil without fertiliser) with crushed dry leaves and some rotting hardwood. Add a spoon of crushed eggshell or cuttlebone powder for calcium. Wet the mix until it clumps when squeezed but no water drips out.
3. Create a moisture gradient
Keep one half of the box moist and let the other half dry out a little. Isopods move between the two to stay comfortable. Pour a little water into the moist corner once or twice a week instead of spraying the whole box.
4. Add leaf litter and hides
Cover the surface with a thick layer of dry leaves such as oak, almond or jackfruit leaves (pesticide-free). Add a flat piece of bark or wood on the moist side. Most of your colony will gather under it.
5. Add a cleanup crew and your isopods
A springtail culture keeps mould under control. Then release your isopods gently near the bark hide and leave them alone for a few days to settle in.
6. Feeding and maintenance
- Leaf litter and wood are their main food, so top them up when they get thin.
- Offer a pinch of protein food or fish flakes and a slice of vegetable once a week, and remove leftovers after 2–3 days.
- Keep a calcium source in the box at all times.
- If you see a lot of mould, increase ventilation and feed less.
That’s it. A well-set-up box needs only a few minutes of care each week, and a healthy colony will start breeding within a few months.